
Welcome! This guide will help you get to know your Mercusys AX1500 Wi-Fi 6 router and walk you through setting it up to work with our broadband services.
What Is the Mercusys AX1500 Router?
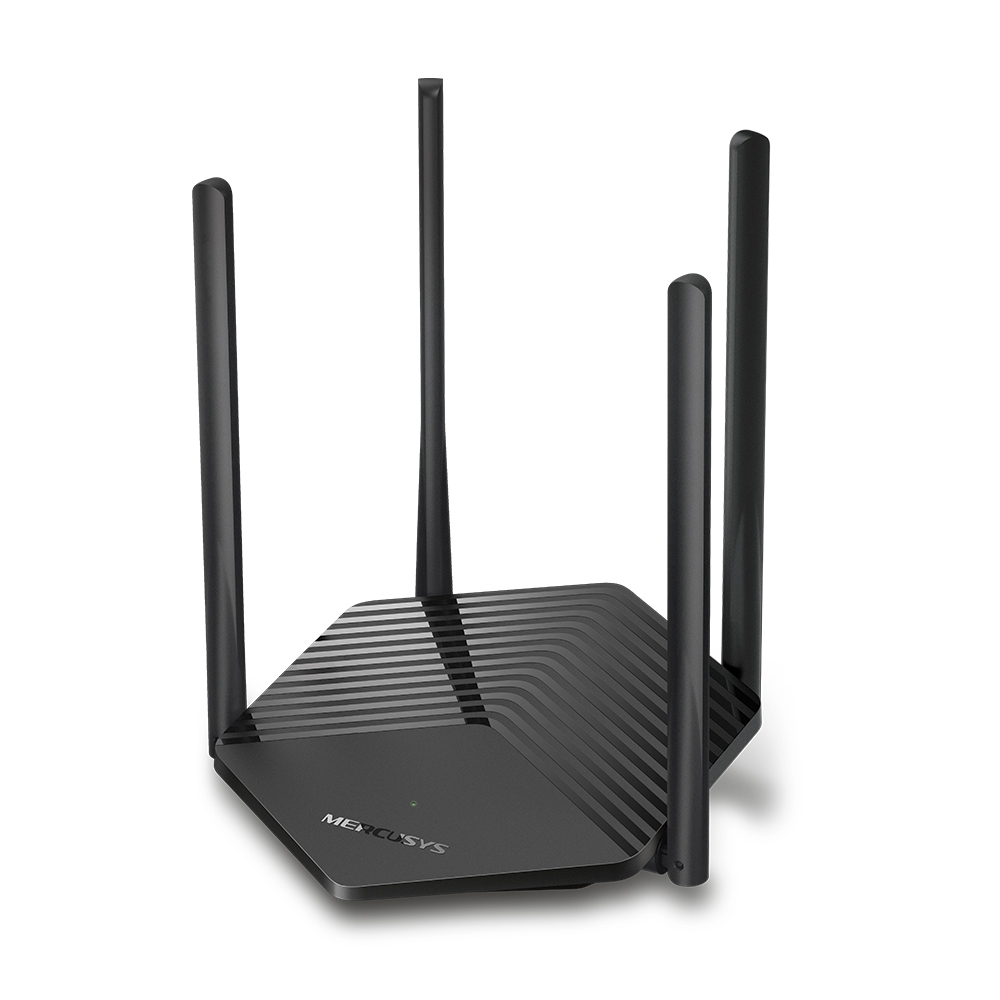
The Mercusys MR60X is a modern Wi-Fi 6 router that brings faster speeds, better coverage, and improved performance for all your devices. It’s perfect for streaming, gaming, and connecting multiple devices at once without slowing down.
Key Features:
-
Wi-Fi 6 Technology: Faster speeds and more efficient data delivery—up to 1.5 Gbps combined.
-
Dual-Band Wi-Fi: 2.4 GHz for range and 5 GHz for speed.
-
4 High-Gain Antennas: Strong signal coverage across your home.
-
OFDMA & MU-MIMO: Keeps your connection fast, even with lots of devices online.
-
Gigabit Ports: Fast wired connections for things like gaming consoles and smart TVs.
-
WPA3 Security: Enhanced protection for your home network.
-
Smart Connect: Automatically puts your devices on the best Wi-Fi band.
Why It’s a Great Choice
-
Built for high-speed fibre connections like UFB in New Zealand.
-
Future-ready with Wi-Fi 6 support.
-
Easy to manage through a web browser.
-
Powerful and affordable—great value for everyday users.
How to Configure Your Router for Our Service
Follow these steps to get your Mercusys router up and running with our broadband:
-
Connect Your Internet Cable
-
Plug one end of your internet cable into the WAN port on the back of your Mercusys router.
-
Plug the other end into the provisioned port on your ONT (Optical Network Terminal).
-
You’ll be advised of your correct port during your connection process, but this is usually LAN1 or GE1 on the ONT.
-
-
Connect to the Router
-
Use an Ethernet cable or connect via Wi-Fi (default name and password are usually on a sticker on the router).
-
Your device should say it’s connected, but no internet—this is normal at this stage.
-
-
Access the Router Settings
-
Open a web browser and go to 192.168.1.1 or mwlogin.net.
- If this is your first time logging in, it will ask you to set up a new password and take you through a small setup. During this setup you will need to select the correct time zone, and you'll also have an opportunity to change your Wi-Fi name and password.
- If this is not your first time logging in, please provide the password you created during setup
-
-
Go to Advanced Settings
-
Once logged in, click Advanced at the top of the page to access the full settings, then in the left-hand menu, go to Network > IPTV/VLAN. If you are using mobile it will look different, you can find Advanced by clicking on the three lines on the top left of the screen, then select Advanced > Network > IPTV/VLAN.
-
-
Configure IPTV/VLAN
-
Tick the box to Enable IPTV/VLAN.
-
Set Mode to New Zealand-UFB.
-
Make sure the Internet VLAN ID is set to 10.
-
Set Internet VLAN Priority to 0.
-
Click Save at the bottom of the page. If you are on mobile, Save will be on the top right.
-
-
Test Your Connection
-
Wait a few moments after saving.
-
Check your devices to see if they can now access the internet.
-
If you have any issues or need help, you can reach out to our support team through live chat on our website, or send us an email on care@zeronet.nz.
Comments
0 comments
Please sign in to leave a comment.